
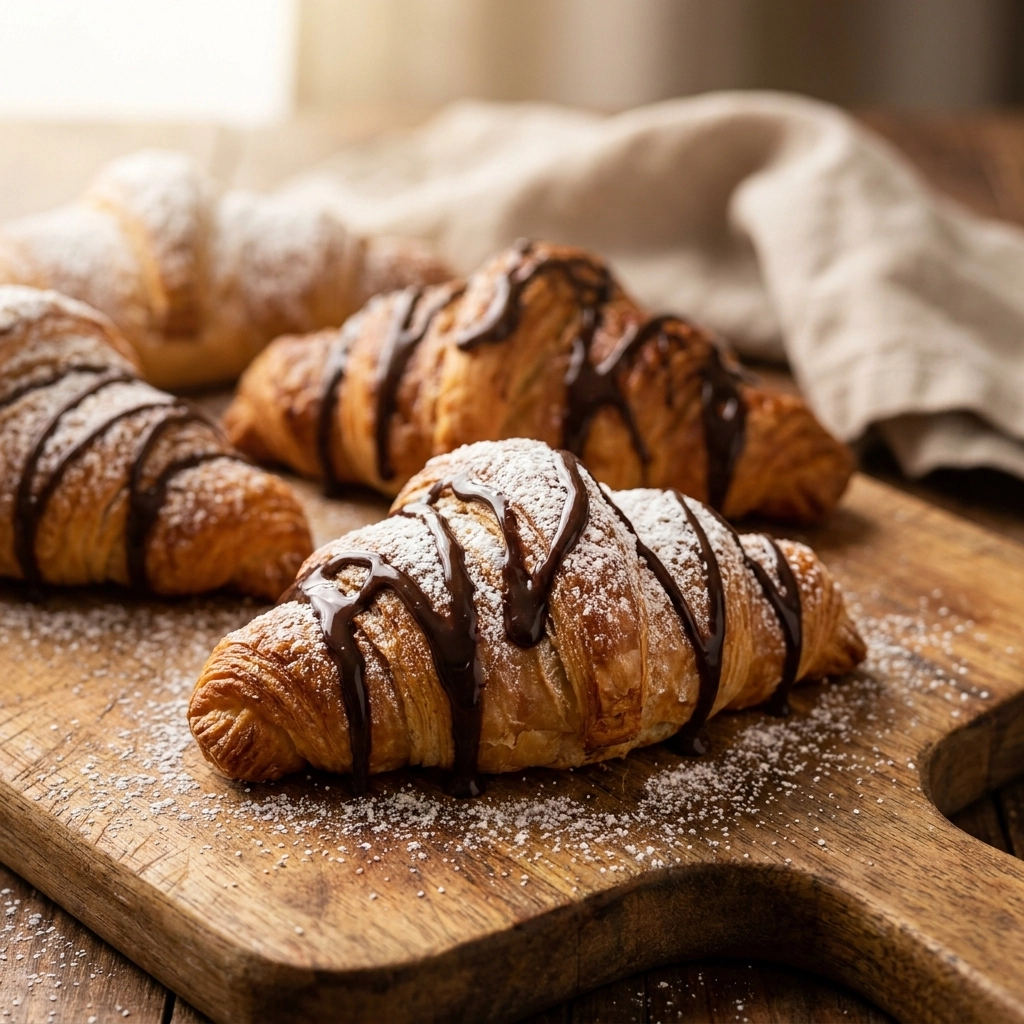
I have a confession to make! The very first time I attempted these, I accidentally used frozen dough that was still rock hard, resulting in a burnt exterior and a frozen center.
It was a total disaster, but it taught me the golden rule of patience when it comes to temperature!
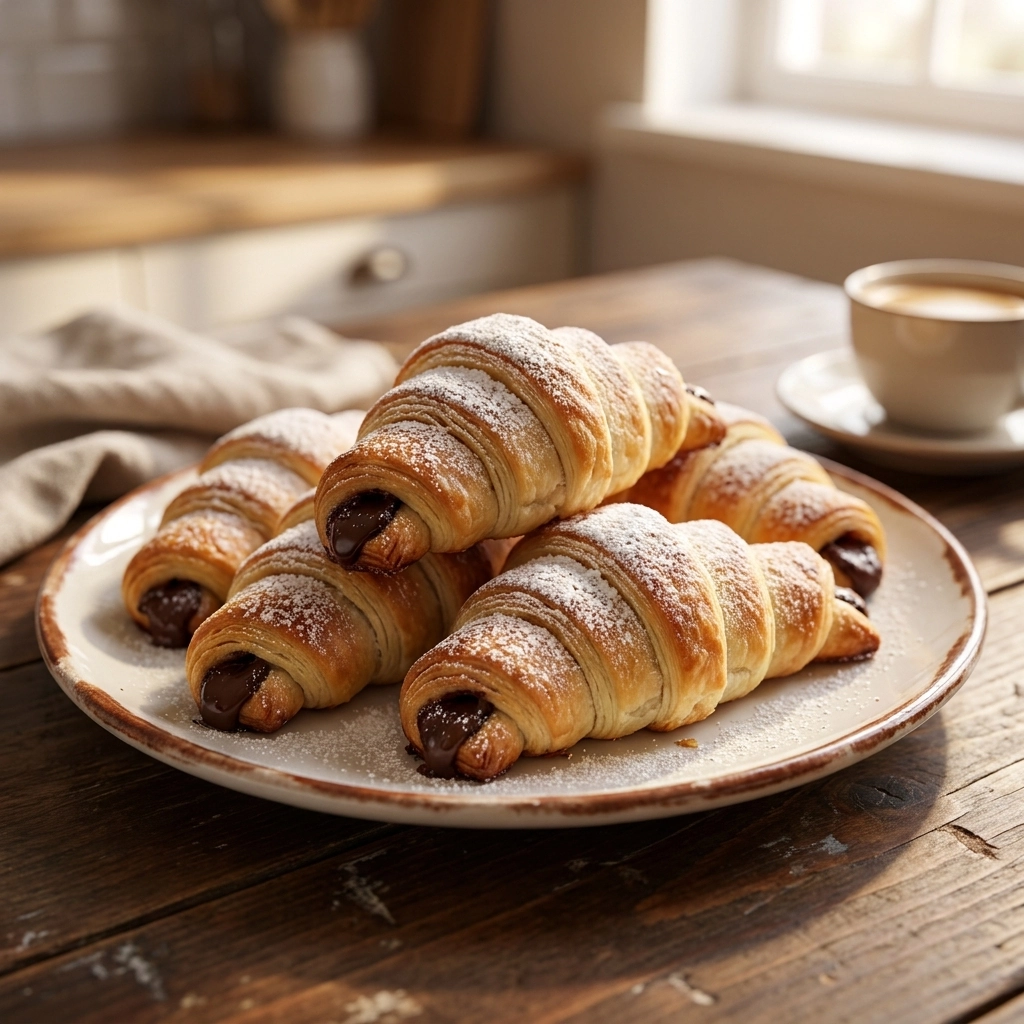
These treats are buttery, flaky rolls wrapped around a rich, velvety chocolate center.
Everyone loves them because they look like they took hours of professional effort, but they actually come together in a flash.
Unlike store-bought turnovers that often taste like cardboard, these have a homemade richness that hits different.
This is the go-to snack for anyone who wants a fancy dessert without spending the whole afternoon in the kitchen.
Let’s dive into how to get these right every single time! If you love bold flavors, try our Delectable Chocolate Dipped Peppermint Meringues Recipe
- ●Why You’ll Love This Recipe
- ●A Brief Background / Why This Recipe Works
- ●Perfect For Sweet Tooth Cravings and Parties
- ●Chocolate Ingredient Spotlight
- ●Butter and Pastry Spotlight
- ●Key Ingredients
- ●How to Make It
- ●Pro Tips
- ●Delicious Variations
- ●Best Ways to Serve
- ●Storage and Leftovers
- ●Frequently Asked Questions
- ●Why This Recipe Belongs in Your Weekly Rotation
- ●Final Thoughts
There are so many reasons to keep this in your repertoire, but here are the highlights!
- ●The texture contrast is wild. You get a crisp, shattered-glass pastry shell and a molten core.
- ●Prep time is minimal. You can go from craving to eating in under thirty minutes.
- ●They are visually stunning. The crescent shape looks elegant on any platter.
- ●Customization is a breeze. You can swap the chocolate for different fillings based on your mood.
- ●Kid-friendly activity. Children love rolling the dough into those little crescent shapes.
- ●Budget-friendly materials. You only need a few basic staples from the grocery store.
- ●Consistent results. As long as you follow the temperature tips, they come out gold every time.
- ●Versatile serving options. These work just as well for breakfast as they do for late-night snacking.
Seriously, these are a game changer for your dessert rotation!
A Brief Background / Why This Recipe Works |
The magic here lies in the layering of fats. By using a high-fat pastry, the water in the dough evaporates quickly in the oven, pushing the layers of flour apart and creating that signature flake.
The chocolate center is designed to stay semi-liquid, which creates a luscious mouthfeel. When paired with the salty notes of the butter, the sweetness of the cocoa is balanced and not overwhelming.
It works because it relies on the chemistry of steam and emulsion. The heat transforms a simple roll into a sophisticated pastry.
You might also enjoy our Irresistible Spiderweb Chocolate Cheesecake Halloween Delight
Perfect For Sweet Tooth Cravings and Parties |
These are a lifesaver for busy weeknights when you need a quick win. You can whip them up while the kids are doing homework, and the house will smell like a bakery.
For family dinners, they serve as a light finish that doesn’t feel too heavy. They are small enough that guests can grab one without feeling guilty.
During the holidays, these shine as part of a brunch spread or a dessert platter. They pair wonderfully with a cup of coffee or a glass of sparkling cider.
Chocolate Ingredient Spotlight |
The chocolate is the heart of this operation. Using a high-quality semi-sweet chocolate ensures that the filling is rich and dark without being cloyingly sweet.
The cocoa butter in the chocolate melts at a specific temperature, which allows it to flow inside the pastry while the edges crisp up. This creates that molten effect that makes every bite exciting.
Butter and Pastry Spotlight |
The pastry is what provides the structure and the crunch. A high-butter content is non-negotiable here because it creates those flaky layers.
If the pastry is too lean, the result is a tough, bread-like roll rather than a delicate crescent. The salt in the butter also acts as a flavor enhancer for the chocolate.
Key Ingredients |
Here is everything you will need to gather before you start your baking adventure.
- ●Crescent Dough — I highly recommend the refrigerated pilgrims brand for consistency; without it, you lose the flake.
- ●Semi-Sweet Chocolate — Go for a Ghirardelli bar for the best melt; skipping quality here leads to a grainy texture.
- ●Unsalted Butter — Use a European-style butter for extra richness; without it, the flavor is flatter.
- ●Egg Wash — I prefer organic large eggs for a deeper gold color; skipping this means the pastry stays pale.
- ●Granulated Sugar — Use a fine-grain sugar for a better crust; without it, the top lacks that sparkling crunch.
 How to Make It |
Follow these steps closely to ensure your pastry doesn’t leak and your centers stay gooey!
- Prepare the Oven: Preheat your oven to the temperature specified on your dough package. Ensure the rack is in the center so the bottoms don’t burn while the tops are still pale.
- Roll Out the Dough: Unroll the pastry on a lightly floured surface and separate the triangles. Look for clean edges; if they tear, you might have leaks during baking.
- Place the Filling: Put a small piece of chocolate at the wide end of each triangle. Don’t overfill them, or the chocolate will explode out the sides!
- Roll the Crescents: Carefully roll from the wide end to the point, tucking the sides slightly. You want a tight coil so the chocolate is fully encased.
- Apply the Glaze: Brush the tops with a beaten egg wash and sprinkle with sugar. The egg should look like a thin, glossy coat; avoid drips that might burn on the pan.
- Bake to Gold: Place them in the oven until they are a deep golden brown. Listen for the slight sizzle of the butter and smell the toasted pastry to know they are done.
It is truly a magical transformation!
1Want to take these to the next level? Try these tricks!
- ●2Chill the Dough: Keep the dough cold until the very second you need to roll it to maintain the flake.
- ●3Seal the Edges: Gently press the point of the triangle under the roll to lock in the chocolate.
- ●4Parchment Paper: Always use parchment or a silicone mat to prevent the bottoms from sticking.
- ●5Don’t Overbake: Take them out as soon as they are gold; overbaking dries out the chocolate center.
- ●6Cooling Time: Let them sit for five minutes before eating so the molten chocolate settles.
7For more cookie inspiration, check out our Irresistible Tasty Chocolate Thumbprint Cookies Delight
Delicious Variations |
Once you master the base, try these twists!
- ●Nutty Twist: Add a sliver of almond or a hazelnut inside with the chocolate.
- ●Orange Zest: Rub a bit of orange zest on the chocolate before rolling for a citrus kick.
- ●White Chocolate: Swap the semi-sweet for white chocolate and add a dried cranberry.
- ●Sea Salt Finish: Sprinkle a pinch of flaky sea salt on top immediately after baking.
- ●Cream Cheese Core: Add a tiny dollop of cream cheese alongside the chocolate for a cheesecake vibe.
You can really get creative with what you stuff inside!
Best Ways to Serve |
Presentation is everything when it comes to these buttery treats.
- ●Pair them with a dollop of whipped cream and a few fresh raspberries.
- ●Serve them warm on a wooden board with a side of salted caramel sauce.
- ●Accompany them with a strong espresso to cut through the richness.
These are also wonderful when dusted with powdered sugar for a snowfall effect. It makes them look like they came from a high-end French patisserie.
If you are serving these at a party, keep them on a warming tray to maintain that gooey center. You might also enjoy our Irresistible Delectable Colorful Chocolate Chip Cookies
Storage and Leftovers |
Refrigerating
Keep these in an airtight container in the fridge for up to 5 days. The pastry may soften slightly, but the chocolate stays fresh.
Reheating
Pop them in a toaster oven at 350F for 3 to 5 minutes. This restores the crunch and remelts the chocolate center.
Freezing
Freeze the unbaked rolls on a tray for one hour, then transfer to a bag for up to 3 months. Bake them directly from frozen, adding 2 minutes to the timer.
Frequently Asked Questions |
- ●Q: Why did my chocolate leak out of the pastry?A: This usually happens because the dough was rolled too loosely or the chocolate piece was too large. Make sure to tuck the sides in and press the final point firmly under the crescent to create a secure seal.
- ●Q: Can I use chocolate chips instead of a chocolate bar?A: Yes, you can use high-quality chips, but a chopped bar usually melts more evenly. If using chips, use about five or six per roll to ensure you get a consistent molten core in every single bite.
- ●Q: How do I stop the bottoms from burning?A: Ensure your oven rack is in the center and avoid using dark-colored metal pans which absorb more heat. Using a light-colored baking sheet or parchment paper creates a buffer that protects the delicate pastry base.
- ●Q: Can I make these vegan?A: You can substitute the crescent dough for a vegan alternative and use dairy-free chocolate. Just be sure to use a plant-based milk or melted vegan butter for the glaze to keep the golden look.
- ●Q: What is the best way to get a shiny top?A: The secret is a double egg wash! Brush the pastry once, let it set for a minute, then brush it again right before the sugar sprinkle. This creates a professional, lacquer-like finish on the crust.
Why This Recipe Belongs in Your Weekly Rotation |
Having a reliable, fast treat like this in your back pocket is a total lifesaver. It satisfies the urge for something decadent without requiring a trip to the store for a dozen different ingredients.
It is the ultimate mood-booster for a rainy Tuesday or a reward after a long workday. The process of rolling and baking is therapeutic, and the reward is instant gratification.
Since it uses minimal equipment, clean-up is a breeze. You spend more time eating and less time scrubbing pots and pans, which is the real victory here!
For another fruit-filled treat, check out our Irresistible Crispy Chocolate Raspberry Tarts Recipe
Final Thoughts |
These buttery rolls with a hidden cocoa core are a masterclass in simplicity. They combine a flaky exterior with a molten interior to create a snack that feels incredibly fancy but remains totally accessible.
You should make these because they prove that you don’t need to be a pastry chef to create a world-class dessert. They are fast, reliable, and guaranteed to disappear from the plate in seconds.
Go ahead and treat yourself to this chocolatey bliss right now!
If you need one more dessert idea, try our Decadent Chocolate Covered Strawberries Recipe Aromatic
Buttery Chocolate Crescents

A buttery, flaky pastry rolled around a rich semi-sweet chocolate center. These golden crescents are the ultimate quick treat for chocolate lovers.
- Prep Time: 10 minutes
- Cook Time: 15 minutes
- Total Time: 25 minutes
- Yield: 8 crescents 1x
- Category: Dessert
- Method: Baking
- Cuisine: French-inspired
Ingredients
- 1 can refrigerated crescent roll dough
- 4 oz semi-sweet chocolate bar, chopped
- 1 large egg
- 1 tablespoon melted unsalted butter
- 2 tablespoons granulated sugar
Instructions
- Preheat oven to 375F (or per dough instructions) and line a baking sheet with parchment paper.
- Unroll the crescent dough and separate into 8 triangles.
- Place a 1/2 oz piece of chopped chocolate at the wide end of each triangle.
- Roll the dough from the wide end toward the point, tucking in the edges to seal the chocolate.
- Beat the egg with melted butter and brush generously over the tops of the crescents.
- Sprinkle the tops with granulated sugar.
- Bake for 12-15 minutes or until the pastry is a deep golden brown.
- Allow to cool for 5 minutes before serving.