
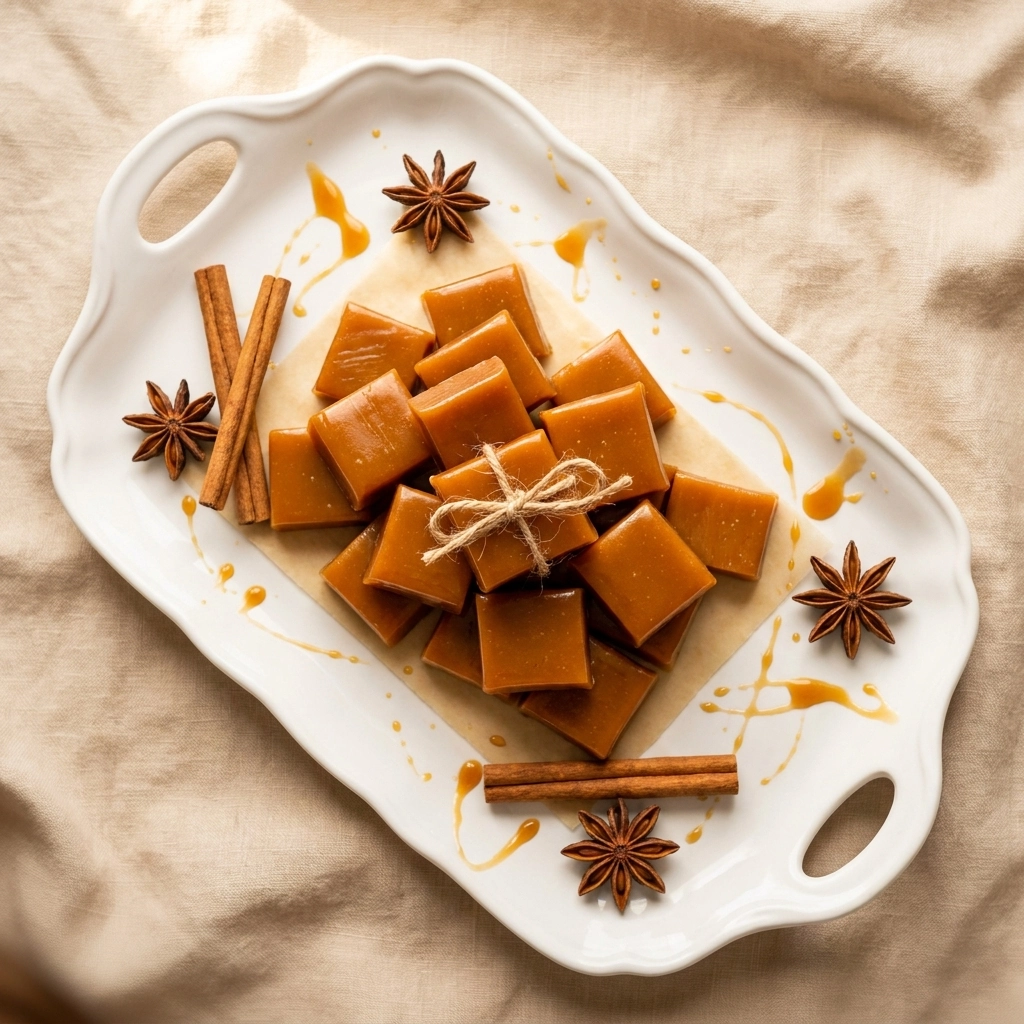
The Essence of Autumn in a Bite |
Imagine a crisp Tuesday afternoon in late October when the wind carries the scent of dying leaves and damp earth. You are curled up in a heavy wool blanket, watching the gray clouds drift across the horizon while a pot of cider simmers on the stove. This is the precise moment when your kitchen demands a treat that mirrors the golden hues of the falling foliage.
These caramels are not merely candy; they are a concentrated dose of seasonal nostalgia. apple cider into a thick, syrupy base, we create a depth of flavor that store-bought sweets cannot replicate. The result is a buttery, chewy confection that tastes like a harvest festival captured in a tiny, translucent square.
- ●The apple cider adds a sophisticated tang that cuts through the heavy sugar.
- ●It uses a simple one-pot method that minimizes cleanup after cooking.
- ●The texture is perfectly balanced between a soft chew and a firm set.
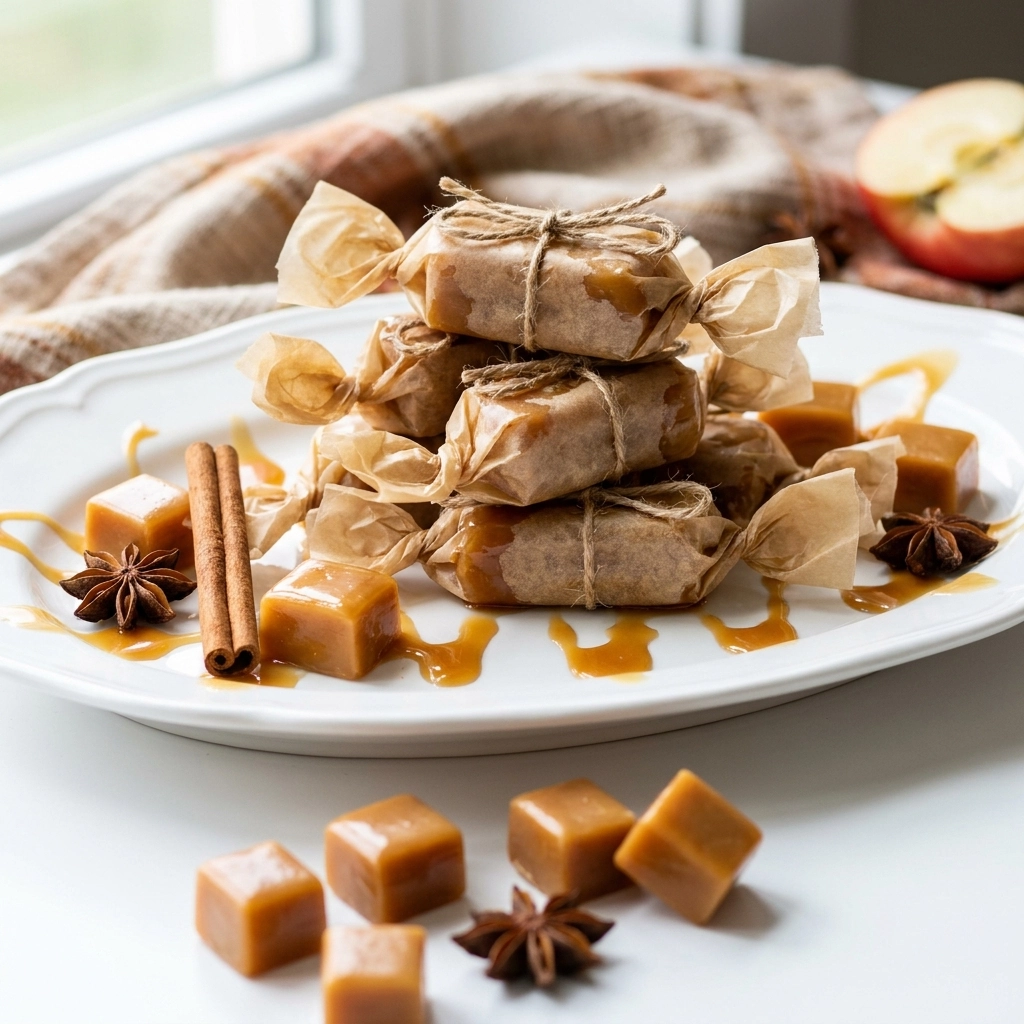
- ●These make impressive homemade gifts for neighbors and friends during the holidays.
- ●You can easily customize the flavor with a pinch of cinnamon or sea salt.
Essential Ingredients |
Apple Cider provides a bright, fruity aroma and a deep amber glow; use 1 cup of unfiltered cider for the most robust flavor.
Brown Sugar contributes a molasses-like richness and a sandy texture before melting; ensure you have 1 cup of packed light brown sugar.
Unsalted Butter adds a creamy, velvety mouthfeel and a golden sheen; use 1/2 cup of high-quality butter cut into cubes.
Heavy Cream creates a smooth, opaque consistency and prevents the sugar from crystallizing; 1/2 cup of room temperature cream is ideal.
Corn Syrup acts as the stabilizer that ensures a glossy finish and a chewy pull; 1/4 cup provides the necessary structural integrity.
Sea Salt introduces a sharp, mineral contrast that elevates the sweetness; a small pinch is all you need to balance the palette.
 Let’s Make it Together |
- The reduction: Pour the apple cider into a heavy-bottomed saucepan and simmer over medium heat until it reduces by half, concentrating the apple essence.
- The melt: Add the brown sugar, corn syrup, and butter to the reduced cider, stirring constantly until the butter is fully incorporated and the mixture bubbles.
- The emulsion: Slowly pour in the heavy cream while whisking vigorously to ensure the fats and sugars bond perfectly without separating.
- The boil: Increase the heat to medium-high and bring the mixture to a steady boil without stirring, allowing the sugars to reach the soft-crack stage.
- The test: Use a candy thermometer to hit exactly 240°F, or drop a small amount into ice water to see if it forms a soft, pliable ball.
- The set: Quickly pour the molten caramel into a parchment-lined 8×8 inch baking pan and smooth the top with a spatula.
- The cut: Allow the caramels to cool completely at room temperature for 4 hours before slicing them into small, uniform squares.
Avoid stirring the mixture once it reaches a boil to prevent premature crystallization.
Always use a heavy-bottomed pan to distribute heat evenly and avoid scorched sugar.
Ensure your candy thermometer is calibrated correctly or your caramels will be too soft.
Do not grease the pan with butter; use parchment paper for a clean, non-stick release.
Wait for the mixture to cool fully before cutting to avoid jagged, messy edges.
Perfecting the Cooking Process |
Temperature control is the absolute heartbeat of this recipe. If you pull the caramels off the heat too early, they will remain a gooey sauce; if you go too far, they become hard, tooth-breaking candies. Using a digital thermometer is the only way to guarantee a professional result every single time.
But here’s the thing: the speed of your boil matters. A rapid, violent boil can cause the sugars to burn on the sides of the pot. Maintain a steady, rolling bubble that looks consistent across the surface to ensure the apple cider reduction integrates seamlessly with the fats.
Add Your Touch |
That’s exactly why some chefs prefer to add a teaspoon of vanilla bean paste during the final stage of boiling. This introduces a floral complexity that complements the tartness of the apple cider and makes the caramels taste like an artisanal bakery product.
Once the caramels are set, try rolling them in a mixture of granulated sugar and cinnamon. This adds a subtle crunch and an extra layer of warmth that transforms the treat into a miniature version of a cinnamon-dusted apple fritter.
Storing & Reheating |
Wrap each individual caramel in a small square of wax paper to prevent them from sticking together in the container. Store them in an airtight container at room temperature for up to two weeks, keeping them away from direct sunlight.
Should you want a gooey, melted experience, place a single caramel on a small piece of parchment paper in the microwave for five seconds. This slightly softens the fats, intensifying the apple aroma and creating a decadent, lava-like center.
1Use unfiltered, cloudy apple cider instead of clear apple juice for a deeper flavor.
2Rub a tiny bit of vegetable oil on your knife to get perfectly clean cuts.
3Sift your brown sugar first to remove any stubborn lumps before adding it to the pot.
4Add the sea salt at the very end to keep the flavor sharp and distinct.
5Keep a bowl of ice water near the candy stage manually if needed.
FAQ |
- ●Q: Why did my caramels turn out too soft and sticky?A: This usually happens because the mixture did not reach the required temperature of 240°F. If the sugars aren’t boiled long enough, the water content remains too high, preventing the caramel from setting into a chewy square.
- ●Q: Can I substitute the corn syrup with honey or maple syrup?A: While you can use maple syrup for a different flavor profile, honey may make the caramels too soft. Corn syrup is specifically used as an interferent to stop sugar crystals from forming, which ensures a smooth, professional texture.
- ●Q: How do I stop the caramel from crystallizing during the boil?A: Avoid stirring the mixture once it starts to boil, as this can introduce air and encourage crystal growth. If you see sugar crystals forming on the sides of the pot, gently brush them down with a wet pastry brush.
- ●Q: Is there a way to make these dairy-free?A: You can substitute the butter with vegan butter and the heavy cream with full-fat coconut cream. However, be aware that the coconut may introduce a slight tropical flavor that competes with the apple cider.
- ●Q: What is the best way to store these for a long period?A: For long-term storage, freeze the wrapped caramels in a freezer-safe bag for up to three months. Thaw them in the refrigerator overnight to maintain the original texture and prevent condensation from making them sticky.
- ●Q: Why does my caramel have a burnt taste?A: This is often caused by using a pot with a thin bottom, which creates hot spots that scorch the sugar. Always use a heavy-duty stainless steel or copper pot to ensure the heat is distributed evenly across the bottom.
Apple Cider Caramels Recipe: Easy Fall Treat You Need
Chewy, buttery caramels infused with a concentrated apple cider reduction for a perfect autumn treat.
- Prep Time: 15 minutes
- Cook Time: 45 minutes
- Total Time: 1 hour
- Yield: 24 caramels 1x
- Category: Dessert
- Method: Stovetop
- Cuisine: American
Ingredients
- 1 cup unfiltered apple cider
- 1 cup packed light brown sugar
- 1/2 cup unsalted butter, cubed
- 1/2 cup heavy cream, room temperature
- 1/4 cup corn syrup
- Pinch of sea salt
Instructions
- Simmer 1 cup apple cider in a saucepan until reduced by half.
- Stir in brown sugar, corn syrup, and butter until melted.
- Whisk in heavy cream slowly until smooth.
- Boil without stirring until the mixture reaches 240°F on a candy thermometer.
- Pour immediately into a parchment-lined 8×8 inch pan.
- Cool for 4 hours at room temperature.
- Cut into small squares and wrap in wax paper.