
A Whimsical Trip Down Memory Lane |
I first encountered this neon-pink marvel through my dear friend Sarah, who has a penchant for hosting the most eclectic dessert parties in the city. She invited me to a themed gathering where the centerpiece was a towering, fluffy cake that looked like it had been plucked straight from a daydream, promising a taste that would transport us back to childhood.
My curiosity was truly piqued years ago during a visit to a seaside carnival in Maine, where the scent of spun sugar filled the salty air. I remember watching the cotton candy machines spin gold and pink webs and wondering if that ethereal flavor could ever be captured in a rich, creamy cheesecake without becoming overwhelmingly sweet.
You might feel a bit intimidated colors or the gelatin, but I promise you that this recipe is incredibly forgiving. Even if you have never baked a cheesecake in your life, you are absolutely capable of mastering this magical dessert with just a little patience and love.
- ●The flavor is a nostalgic explosion of carnival-style spun sugar.
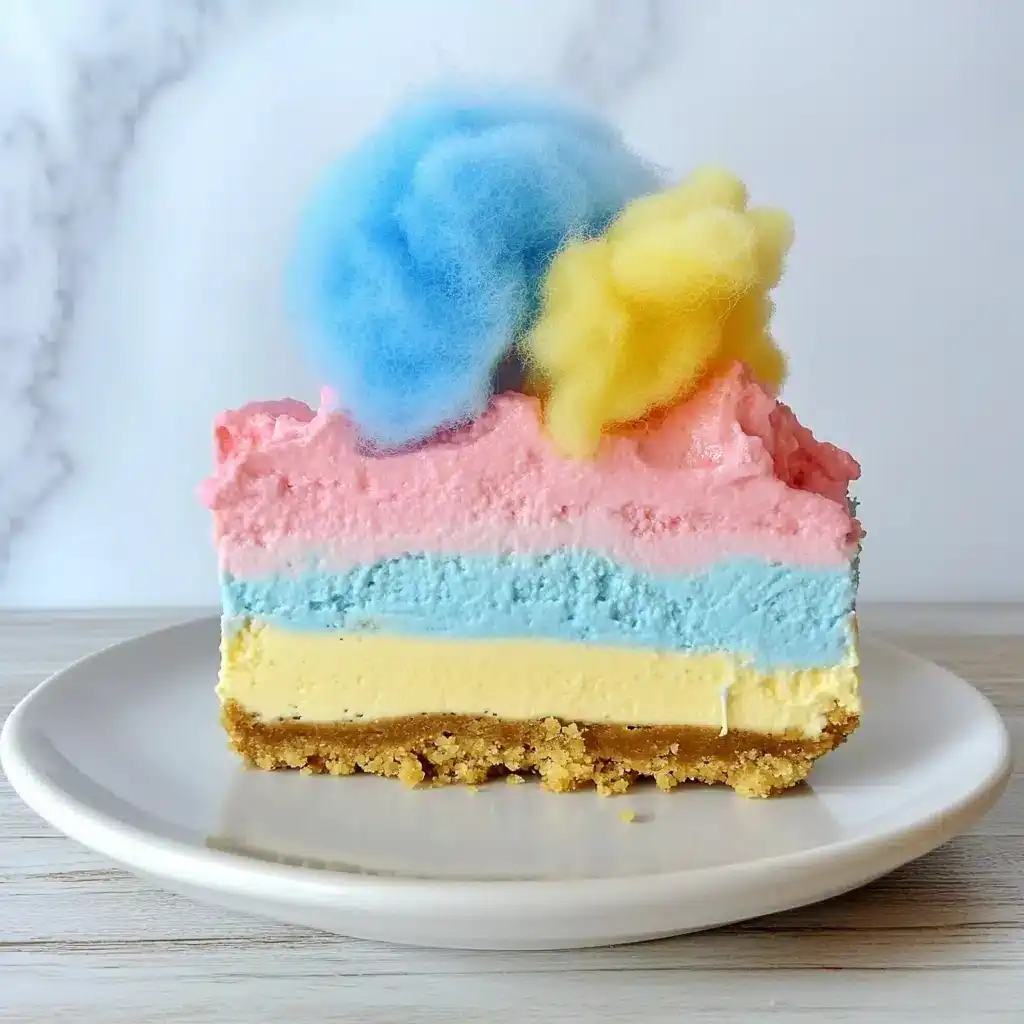
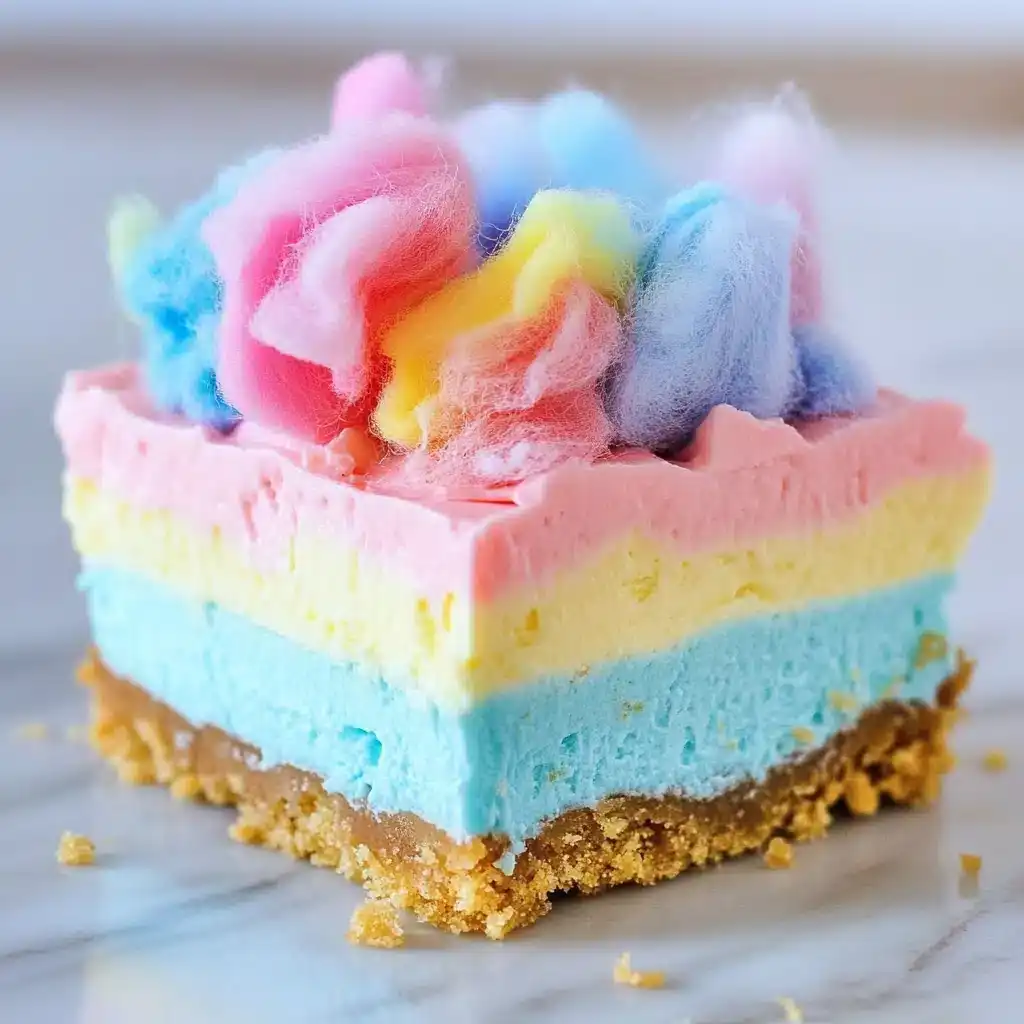
- ●It features a stunningly vibrant pink hue that wows every guest.
- ●The texture is a perfect hybrid between a dense cheesecake and a fluffy mousse.
- ●It requires no professional baking skills to achieve a gourmet result.
- ●This dessert doubles as a celebratory centerpiece for birthdays or showers.
Essential Ingredients |
Cotton Candy JELLO mix: Gelatin was originally used as a medical glue before becoming a dessert staple, and here it provides both the iconic flavor and the structural set.
Cream cheese: This ingredient was once a byproduct of cheesemaking in the 1800s, and it serves as the rich, tangy foundation that balances the sugar.
Whipped topping: Modern whipped toppings use hydrogenated oils to maintain stability, which ensures our cheesecake stays fluffy and airy for hours.
Graham cracker crumbs: These crackers were invented Graham in the 1820s as a health food, and they add a necessary salty crunch to the base.
Melted butter: Butter is technically an emulsion of fat and water, acting as the binding agent that turns dry crumbs into a solid crust.
 Let’s Make it Together |
- First things first, let’s get your crust ready graham cracker crumbs with melted butter in a small bowl until it looks like wet sand.
- Now, just press that mixture firmly into the bottom of your springform pan using the back of a spoon—don’t worry if it isn’t perfect, we’re going for rustic charm here!
- Next, we’re going to beat your softened cream cheese in a large bowl until it’s completely smooth and creamy; just keep going until all the lumps disappear.
- Go ahead and fold in your Cotton Candy JELLO powder slowly, making sure you don’t overmix, just gently incorporating the color and flavor into the cheese.
- Now, let’s fold in the whipped topping with a spatula, using a light hand to keep all that lovely air inside so the cake stays fluffy.
- Pour that gorgeous pink batter over your crust and smooth the top with a knife, then pop it in the fridge to set while you relax for a few hours.
It is pure magic.
Ensure your cream cheese is completely at room temperature to avoid annoying lumps.
Avoid using a high-speed mixer when adding the whipped topping or you’ll deflate the air.
Always use a springform pan so you can remove the sides without damaging the cake.
Do not rush the chilling process or the center may remain too soft to slice.
Check that your JELLO powder is fully dissolved to prevent grainy pockets of flavor.
Perfecting the Cooking Process |
Temperature control is the secret weapon here. Since this is a no-bake variation, the ‘cooking’ happens through stabilization in the cold. Ensure your refrigerator is set to a standard cooling temperature; if it’s too warm, the gelatin won’t bond correctly with the fats in the cream cheese, leading to a slump.
Timing is equally critical for the texture. While it is tempting to taste it after an hour, the flavors need time to marry and the structure needs to solidify. Giving it a full six to eight hours of undisturbed chilling ensures that every slice comes out clean and professional looking.
Add Your Touch |
If you want to take this to the next level, try swirling in some melted white chocolate or adding fresh raspberries to the base for a tart contrast. A sprinkle of actual spun cotton candy on top just before serving adds a wonderful visual texture and an extra punch of sweetness.
For those who prefer a different crunch, swap the graham crackers for crushed vanilla wafers or even crushed Oreos. Substituting the whipped topping with a homemade stiff-peak meringue can also add a sophisticated, airy lift to the overall profile.
Storing & Reheating |
Keeping this cake in the refrigerator is non-negotiable, as the gelatin requires cold temperatures to maintain its form. Store it in an airtight container or cover the pan tightly with plastic wrap to prevent the cake from absorbing other fridge odors; it will stay fresh and delicious for up to five days.
Freezing is an option if you want to prep this for a future event, but be careful. Wrap it double-tight in foil and freezer wrap for up to two weeks, then thaw it slowly in the fridge overnight. Never attempt to reheat this cake in a microwave or oven, as the heat will melt the gelatin and turn your masterpiece into a pink puddle.
1Sift your JELLO powder through a fine mesh strainer to ensure zero clumps.
2Line the bottom of your pan with parchment paper for an effortless release.
3Use a hot knife dipped in warm water to get those perfect, clean slices.
4Whisk the cream cheese for a full three minutes before adding other ingredients.
5Add a tiny pinch of salt to the crust to enhance the sugary notes.
FAQ |
- ●Q: Can I make this recipe without a springform pan?A: Yes, you can certainly use a standard 9-inch pie dish or a square baking pan. However, since you won’t be able to pop the sides off, you will need to scoop the cheesecake out with a spoon or slice it into squares rather than traditional wedges.
- ●Q: Why is my cheesecake too soft or runny?A: This usually happens if the cream cheese was too warm or if the cake didn’t spend enough time in the refrigerator. Make sure you chill it for at least six hours, and ensure your cream cheese is softened but not meltingly warm before you begin mixing.
- ●Q: Can I substitute the JELLO with a different flavor?A: Absolutely! While Cotton Candy is the star here, you can use Strawberry or Raspberry JELLO for a similar color and flavor profile. Just keep in mind that the sweetness levels may vary slightly depending on the specific flavor of the gelatin mix you choose.
- ●Q: How do I prevent the crust from crumbling when slicing?A: The best way to prevent crumbling is to press the crust firmly into the pan using a flat-bottomed glass. Additionally, ensuring the cake is fully set in the fridge allows the moisture from the filling to slightly soften the crust, binding it more effectively to the cake.
Dreamy Cotton Candy JELLO Cheesecake Recipe

A whimsical, no-bake cheesecake featuring the nostalgic flavor of cotton candy and a buttery graham cracker crust.
- Prep Time: 20 minutes
- Cook Time: 0 minutes
- Total Time: 20 minutes
- Yield: 8 servings 1x
- Category: Dessert
- Method: No-Bake
- Cuisine: American
Ingredients
- 1 package (3 oz) Cotton Candy JELLO mix
- 8 oz cream cheese, softened
- 1 cup whipped topping, thawed
- 1.5 cups graham cracker crumbs
- 6 tbsp melted butter
Instructions
- Combine graham cracker crumbs and melted butter, then press into the bottom of a springform pan.
- Beat softened cream cheese until smooth and creamy.
- Mix in the Cotton Candy JELLO powder until fully incorporated.
- Gently fold in the whipped topping using a spatula.
- Spread the mixture evenly over the prepared crust.
- Refrigerate for at least 6 hours or overnight before serving.