

Intro and Brief Recap
Have you ever craved a treat that combines the rich, velvety flavor of chocolate with a fun and playful twist? Chocolate Cake Pops deliver just that, transforming traditional cake into delightful bite-sized treats that are perfect for any occasion. Imagine sinking your teeth into a moist chocolate cake coated in a luscious chocolate shell, all on a stick—it’s hard to resist!
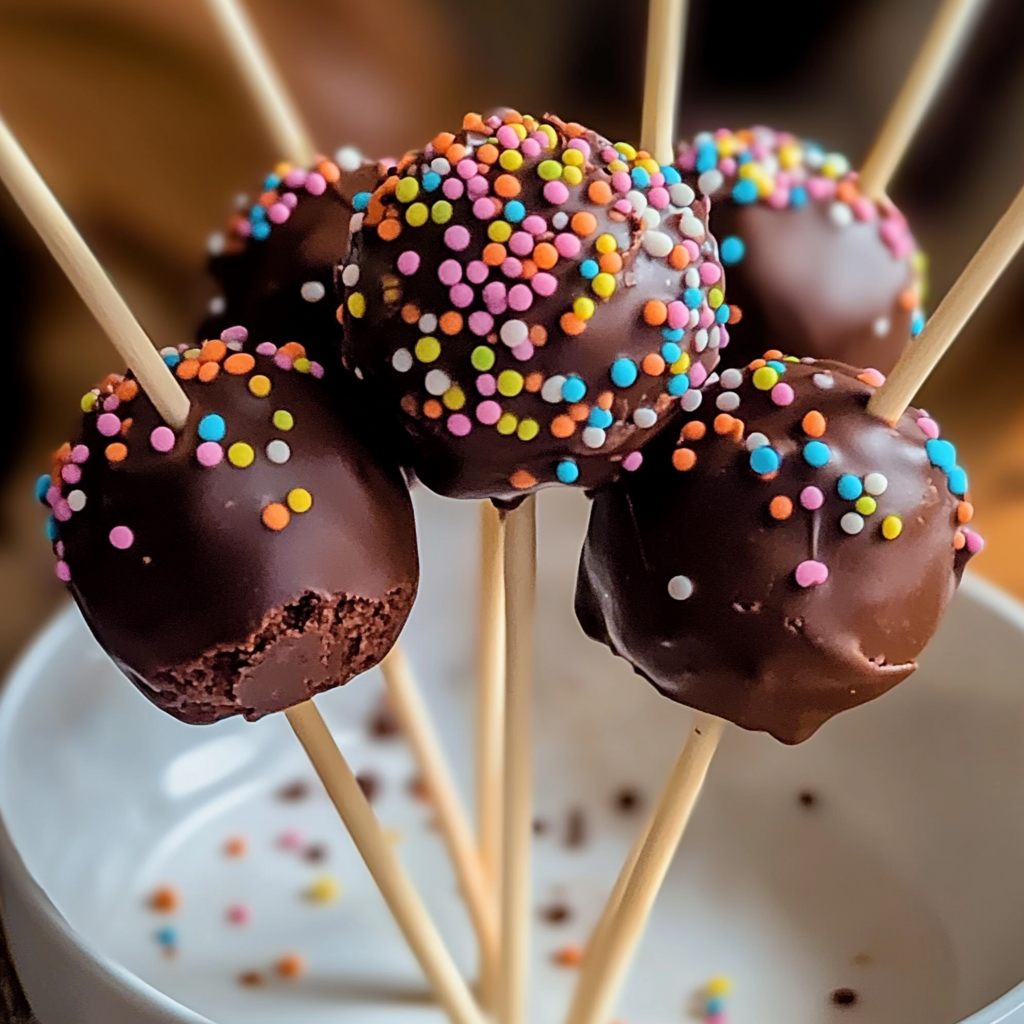
These delightful Chocolate Cake Pops are not only visually appealing but also incredibly versatile. Whether you’re celebrating a birthday, hosting a party, or simply indulging on a cozy afternoon, these treats will surely impress your guests. The combination of textures—from the soft cake to the crisp chocolate coating—offers a flavor experience that’s both satisfying and fun. Plus, they can be customized with various toppings or drizzles to suit any palate.
Key Ingredients For Chocolate Cake Pops: A Fun Twist on a Classic Treat Golden
Here’s what you’ll need to make this delicious dish:
-
Chocolate Cake: You can use homemade or store-bought chocolate cake; either works well for this recipe.
-
Cream Cheese Frosting: This adds moisture and richness; feel free to use store-bought or make your own.
-
Chocolate Melts: Choose high-quality chocolate melts for coating; they come in various flavors and colors.
-
Lollipop Sticks: These provide the classic pop experience; look for sturdy sticks that won’t bend easily.
-
Sprinkles or Toppings: Use colorful sprinkles or crushed nuts to enhance the visual appeal and texture.
The full ingredients list, including measurements, is provided in the recipe card directly below.
Instructions For Chocolate Cake Pops: A Fun Twist on a Classic Treat Golden
Follow these simple steps to prepare this delicious dish:
First Step: Prepare the Cake
Begin by baking your chocolate cake according to package instructions or your favorite recipe. Allow it to cool completely before proceeding to the next step.
Second Step: Crumble the Cake
Once cooled, crumble the cake into fine pieces in a large mixing bowl. Ensure there are no large chunks remaining for smooth pops.
Third Step: Mix with Frosting
Add cream cheese frosting gradually into the crumbled cake until it reaches a dough-like consistency. You want it moist enough to hold shape but not too sticky.
Fourth Step: Form Balls
Scoop small portions of the mixture and roll them into balls about one inch in diameter. Place them on a parchment-lined baking sheet as you go.
Fifth Step: Insert Sticks
Melt a small amount of chocolate melts as adhesive and dip one end of each lollipop stick into it before pushing it halfway into each ball. This helps keep the stick securely attached.
Sixth Step: Coat with Chocolate
Melt the remaining chocolate melts according to package directions. Dip each cake pop fully into the melted chocolate, allowing excess to drip off. Decorate immediately with sprinkles if desired.
Transfer to a stand or container filled with rice or foam to keep them upright while they set. Enjoy these delightful treats at your next gathering!
Expert Tips
Here are some helpful tips to ensure the best results for your dish:
-
Use Quality Chocolate Melts: Opt for high-quality melts for better taste and smoother coating.
-
Chill Before Coating: Refrigerate formed balls for about an hour before dipping in chocolate; this helps maintain their shape.
-
Customize Toppings: Get creative with toppings like coconut flakes or colored sugar for unique designs.
Presentation Ideas
This Chocolate Cake Pops: A Fun Twist on a Classic Treat Golden is versatile and pairs wonderfully with:
-
Colorful Sprinkles: Dressing up your cake pops with vibrant sprinkles adds an exciting visual appeal. Choose colors that match the theme of your event, such as pastel shades for spring parties or bold colors for birthdays.
-
Decorative Sticks: Use decorative sticks or straws to make your cake pops stand out. Options include patterned paper straws or wooden sticks in various colors. This simple addition enhances the overall presentation and makes them easier to hold.
-
Themed Wrapping: Wrap your Chocolate Cake Pops in clear cellophane bags tied with ribbon for a polished look. This method is perfect for party favors and adds a special touch to any gathering, making them an ideal treat for guests.
How to Store Chocolate Cake Pops
To maintain the freshness of your Chocolate Cake Pops: A Fun Twist on a Classic Treat Golden, follow these storage tips:
Firstly, let the cake pops cool completely after decorating. Once they are at room temperature, place them in an airtight container. You can store them at room temperature for up to three days. If you want to keep them longer, refrigerate the pops. Just ensure they are well-wrapped to prevent moisture from affecting their taste and texture.
For longer storage, consider freezing the cake pops. Wrap each one securely in plastic wrap and then place them in a freezer-safe bag. They can last up to two months in the freezer. When ready to enjoy, simply remove them from the freezer and allow them to thaw at room temperature.
Variations on Chocolate Cake Pops
Get creative with your Chocolate Cake Pops: A Fun Twist on a Classic Treat Golden by trying out these variations:
You can experiment with different flavors by using vanilla or red velvet cake instead of chocolate. Each flavor brings its unique twist, allowing you to cater to different tastes. Additionally, consider using flavored chocolate coatings such as white chocolate or milk chocolate for added diversity.
Another idea is to incorporate fillings inside the cake pops. Adding a surprise layer of caramel or raspberry jam creates an exciting flavor burst when bitten into. This small change takes your traditional treat and elevates it into something extraordinary.
FAQs
What are Chocolate Cake Pops made of?
Chocolate Cake Pops: A Fun Twist on a Classic Treat Golden primarily consists of crumbled chocolate cake combined with frosting. The mixture is rolled into balls and coated with melted chocolate or candy melts. You can customize the flavor by using different types of cake bases or frostings, making this treat versatile and appealing for various occasions.
Can I use gluten-free ingredients for Chocolate Cake Pops?
Absolutely! You can create gluten-free Chocolate Cake Pops by using gluten-free cake mix or homemade gluten-free cake recipes. Ensure that all other ingredients, including frosting and coatings, are also gluten-free. This way, you can enjoy this delightful treat without compromising dietary restrictions while still achieving that rich chocolate flavor.
How do I get my Chocolate Cake Pops to stay on sticks?
To ensure that your Chocolate Cake Pops stay securely on their sticks, dip each stick about half an inch into melted chocolate before inserting it into the cake ball. This step acts as glue, helping to hold the pop together once it hardens. Additionally, allow the coating to set slightly before inserting the stick fully into each pop.
Can I decorate my Chocolate Cake Pops differently?
Yes! Decorating your Chocolate Cake Pops: A Fun Twist on a Classic Treat Golden opens up endless possibilities for creativity. You can drizzle contrasting colored chocolate over them, roll them in crushed nuts or coconut flakes, or even use edible glitter for a festive touch. The key is to have fun and let your imagination run wild while personalizing these treats!
Chocolate Cake Pops: A Fun Twist on a Classic Treat

Indulge in the delightful world of Chocolate Cake Pops! These bite-sized treats combine rich chocolate cake and creamy frosting, all coated in a smooth chocolate shell. Perfect for birthdays, parties, or a cozy afternoon treat, they are sure to impress with their fun flavors and customizable toppings. Easy to make and even easier to enjoy, Chocolate Cake Pops are a playful way to satisfy your sweet tooth.
- Prep Time: 30 minutes
- Cook Time: 30 minutes
- Total Time: 1 hour
- Yield: Makes approximately 10 servings 1x
- Category: Dessert
- Method: Baking
- Cuisine: American
Ingredients
- 1 cup crumbled chocolate cake (store-bought or homemade)
- 1/3 cup cream cheese frosting
- 8 oz high-quality chocolate melts
- 10 lollipop sticks
- 1/4 cup colorful sprinkles or toppings
Instructions
- Bake the chocolate cake according to package instructions. Allow it to cool completely.
- Crumble the cooled cake into fine pieces in a large mixing bowl.
- Gradually mix in cream cheese frosting until the mixture reaches a dough-like consistency.
- Roll small portions (about 1 inch) into balls and place them on a parchment-lined baking sheet.
- Melt a small amount of chocolate melts and dip one end of each lollipop stick into it before inserting it halfway into each cake ball.
- Dip each cake pop fully into melted chocolate, letting excess drip off. Decorate with sprinkles immediately.
- Place the pops upright in rice or foam to set.
Nutrition
- Serving Size: 1 serving
- Calories: 145
- Sugar: 12g
- Sodium: 50mg
- Fat: 8g
- Saturated Fat: 4g
- Unsaturated Fat: 3g
- Trans Fat: 0g
- Carbohydrates: 16g
- Fiber: 1g
- Protein: 2g
- Cholesterol: 10mg